
Table of Contents
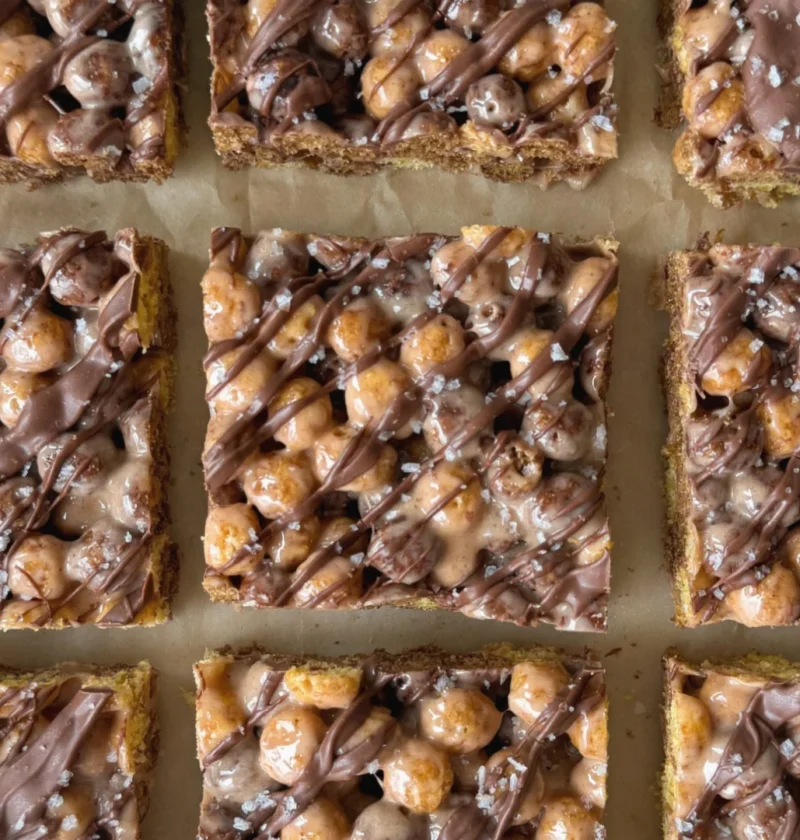
If you’ve ever craved a sweet treat that combines the rich flavors of chocolate and peanut butter with the satisfying crunch of crispy rice, then this Chocolate Peanut Butter Rice Krispie Treats Recipe is for you! These decadent bites are not only easy to whip up but they also offer a delightful blend of textures and flavors that can satisfy any sweet tooth.
Perfect for parties, after-school snacks, or a nostalgic trip down memory lane, these treats will leave you wanting more. The combination of sweet and salty, soft and crunchy, makes each bite a little piece of heaven. Imagine taking a bite and feeling the luscious chocolate melt in your mouth while the peanut butter adds a creamy richness, all perfectly balanced by the crispiness of the Rice Krispies.
Why You’ll Love This Recipe
- Quick and easy to prepare with minimal ingredients, perfect for when you’re short on time. You can have these ready in about 30 minutes!
- A crowd-pleaser that’s perfect for both kids and adults, making it a go-to dessert for events. Whether it’s a birthday party, picnic, or just a cozy night in, they will surely be a hit.
- Perfectly balances sweet and salty flavors, appealing to a wide range of taste preferences. The delightful contrast ensures that each bite is exciting and satisfying.
- No baking required, making it an ideal no-bake dessert that even novice bakers can tackle. You won’t need any special equipment or skills to create this delicious treat!
- Great for meal prep and can be stored for days, ensuring you have a delicious treat on hand anytime you crave something sweet. Just a few squares can satisfy your cravings!
Ingredients
- For the base:
- 6 cups Rice Krispies cereal – look for the original variety for best results. It provides the perfect crunch and texture.
- 1 cup smooth peanut butter – choose a high-quality brand for optimal flavor; natural peanut butter works great too, as long as it’s well-stirred.
- 1/2 cup unsalted butter – using unsalted ensures you can control the saltiness, which enhances the flavor of the chocolate and peanut butter.
- 1 cup marshmallows (mini or regular) – mini marshmallows melt faster, but regular marshmallows work just as well and provide that gooey goodness we all love.
- 1 cup powdered sugar – adds sweetness and helps to bind the mixture, ensuring a cohesive texture that holds up well.
- For the chocolate topping:
- 1 1/2 cups semi-sweet chocolate chips – you can also use dark chocolate or milk chocolate based on your preference for more sweetness or a richer taste.
- 1 tablespoon coconut oil (optional, for a shiny finish) – this helps to create a glossy texture for the chocolate, making your treats look professionally made!
Note: Feel free to use crunchy peanut butter if you prefer extra texture in your treats. You can also substitute almond butter or sunflower seed butter for a nut-free option just ensure to pick one that has a similar consistency to peanut butter for the best results. Additionally, experimenting with flavored chocolate, like white chocolate or adding extracts like vanilla, can elevate the taste further and make each batch uniquely yours!
Steps / Instructions
Melt the Butter and Peanut Butter: In a large saucepan over medium heat, melt 1/2 cup of unsalted butter and 1 cup of smooth peanut butter together. Stir continuously until fully melted and smooth, about 2-3 minutes. Ensure that the mixture is creamy and combined well without any lumps. This is a crucial step; if you overheat it, the mixture can separate, so keep a close eye.
Add Marshmallows: Add 1 cup of marshmallows to the melted mixture. Stir until the marshmallows are completely melted and incorporated, about 2 more minutes. This is your gooey base! Keep an eye on it, as the marshmallows can burn if the heat is too high. You want them to be fully melted to create that luscious, sticky goodness.
Mix in Powdered Sugar: Remove from heat and stir in 1 cup of powdered sugar until well combined. This will add sweetness and help to bind your mixture. Make sure to mix thoroughly to avoid any clumps of sugar, which can create an uneven texture. The mixture should be thick and sticky but still spreadable.
Add Rice Krispies: Gently fold in 6 cups of Rice Krispies cereal. Make sure all the cereal is coated with the sticky mixture. Use a spatula for a more effective mix, and be gentle to avoid crushing the cereal too much, as you want to maintain that delightful crunch! Take your time to ensure every piece is evenly coated.
Press into Pan: Grease a 9×13 inch baking pan with cooking spray or line it with parchment paper for easy removal. Pour the mixture into the pan and press it down firmly and evenly using a greased spatula or your hands. A good press is key to ensuring the treats hold their shape. Make sure the mixture is compact, but don’t press too hard to avoid crushing the Rice Krispies.
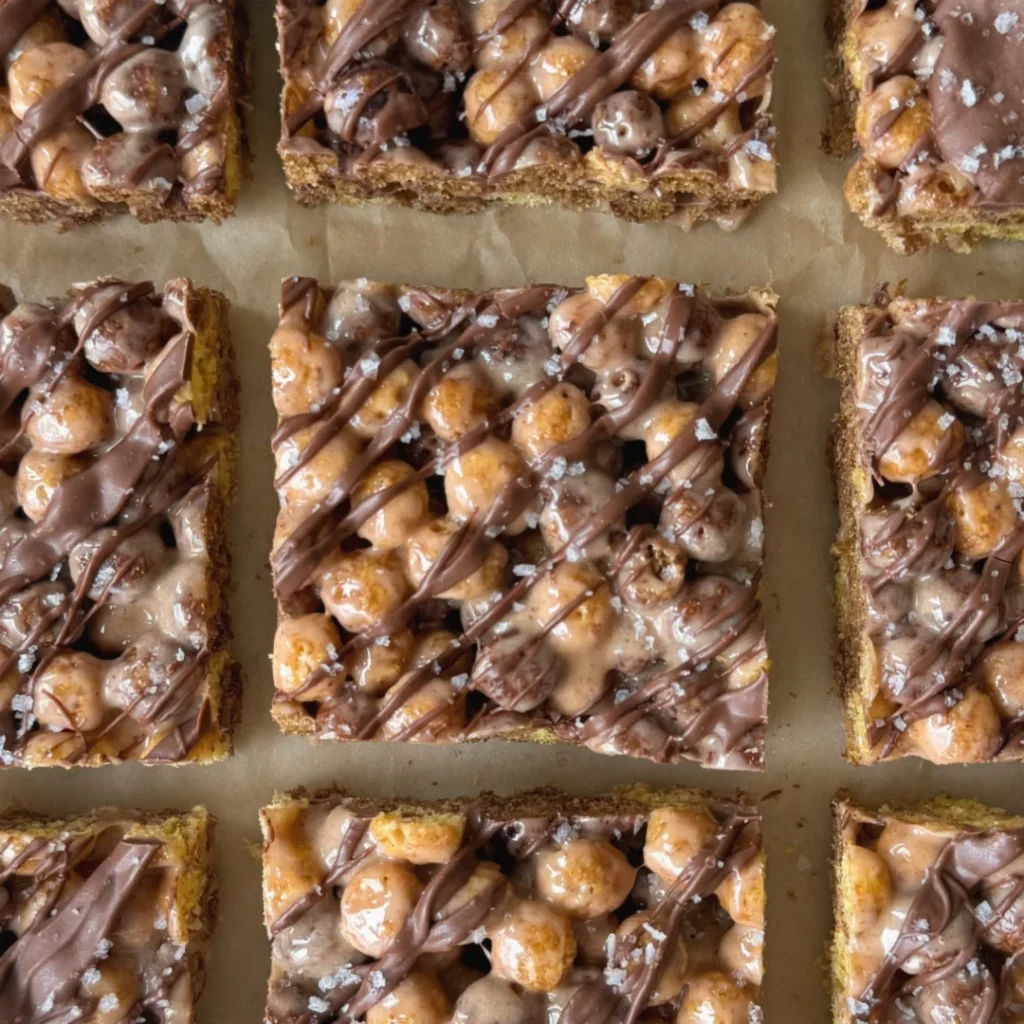
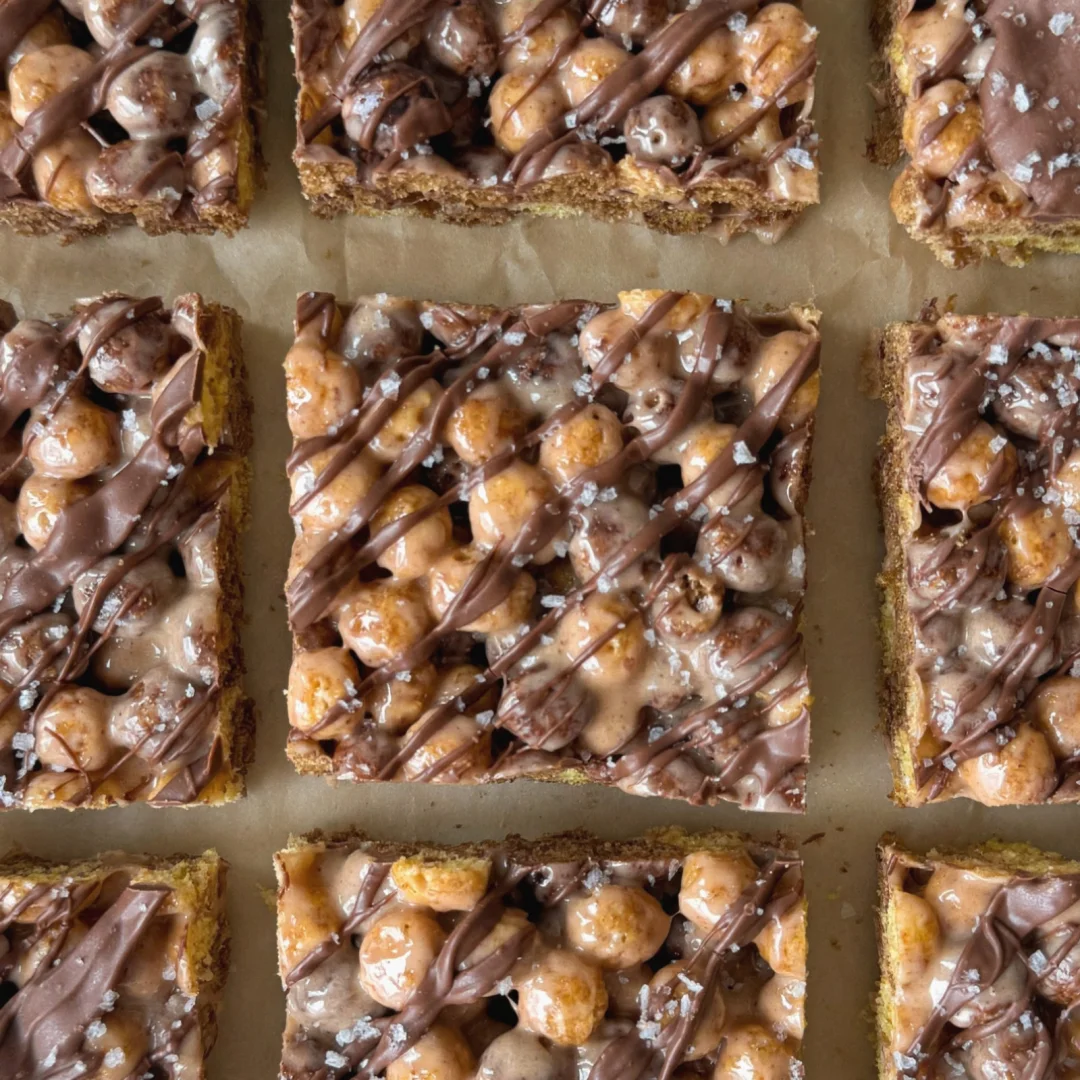
Prepare the Chocolate Topping: In a microwave-safe bowl, combine 1 1/2 cups of semi-sweet chocolate chips and 1 tablespoon of coconut oil (if using). Microwave in 30-second intervals, stirring in between until melted and smooth. Be cautious not to overheat, as the chocolate can seize up. The goal is a silky, pourable chocolate that will coat your treats perfectly.
Spread the Chocolate: Pour the melted chocolate mixture over the pressed Rice Krispie treats and spread it out evenly with a spatula. Make sure to cover the entire surface for that perfect chocolatey finish. This layer not only adds flavor but also presents beautifully!
Chill and Set: Allow the treats to cool at room temperature for about 15 minutes, then refrigerate for at least 30 minutes until the chocolate is set. This step is crucial for achieving a clean cut. If you’re in a hurry, just pop them in the freezer for about 10 minutes!
Slice and Serve: Once set, cut the treats into squares or rectangles and enjoy! These are best served slightly chilled or at room temperature, allowing the flavors to shine through. Consider garnishing with a sprinkle of sea salt on top for an extra touch!
Tips & Tricks
- Don’t skip the chilling step: This helps to set the chocolate and makes the treats easier to cut. Trust me, a little patience goes a long way! The longer they chill, the better the flavor melds together.
- Use a greased spatula: When pressing the mixture into the pan, it helps to have your spatula greased to prevent sticking. Alternatively, you can dampen your hands to avoid the mixture clinging to your fingers. This way, you can achieve a smooth finish without the mess!
- Storage: Keep the treats in an airtight container at room temperature for up to a week, or in the refrigerator for longer freshness. If storing in the fridge, allow them to come to room temperature before serving for the best texture. You can also place parchment paper between layers to prevent them from sticking together.
- Make-ahead option: These can be made a day in advance just store them properly to maintain freshness. They actually taste even better after a night in the fridge as the flavors meld together. It’s a great way to prepare for unexpected guests!
- Common mistakes: Avoid using too much butter or marshmallows, as this can make the treats overly sticky and difficult to cut. Also, be careful not to overmix after adding the Rice Krispies, as this can lead to a dense treat. Remember, the goal is a light and airy texture!
Conclusion
This Chocolate Peanut Butter Rice Krispie Treats Recipe is sure to become a favorite in your household. With its easy prep and irresistible flavor, it’s perfect for sharing or enjoying all on your own. Each bite is a delightful reminder of childhood give it a try and see how quickly it disappears! Check out our related guide for more tips and tricks to elevate your dessert game. Don’t forget to revisit this recipe for your next gathering, as it’s sure to impress!
If you enjoyed this recipe, please leave a comment below and let me know how yours turned out! Don’t forget to save this recipe for later or share it with friends who would also love these delicious treats. You might also love our Old Fashioned Lemon Pound Cake Recipe or Salted Caramel Chocolate Cake Recipe for more sweet inspirations! Your feedback is invaluable, and I can’t wait to hear how you personalize this Chocolate Peanut Butter Rice Krispie Treats Recipe!
Chocolate Peanut Butter Rice Krispie Treats
A sweet treat that combines the rich flavors of chocolate and peanut butter with the satisfying crunch of crispy rice.
Ingredients
- 6 cups Rice Krispies cereal
- 1 cup smooth peanut butter
- 1/2 cup unsalted butter
- 1 cup marshmallows (mini or regular)
- 1 cup powdered sugar
- 1 1/2 cups semi-sweet chocolate chips
- 1 tablespoon coconut oil (optional)
Directions
In a large saucepan over medium heat, melt 1/2 cup of unsalted butter and 1 cup of smooth peanut butter together, stirring continuously until fully melted and smooth, about 2-3 minutes.
Add 1 cup of marshmallows to the melted mixture and stir until completely melted and incorporated, about 2 more minutes.
Remove from heat and stir in 1 cup of powdered sugar until well combined.
Gently fold in 6 cups of Rice Krispies cereal until all the cereal is coated.
Grease a 9x13 inch baking pan and pour the mixture into the pan, pressing it down firmly and evenly.
In a microwave-safe bowl, combine 1 1/2 cups of semi-sweet chocolate chips and 1 tablespoon of coconut oil. Microwave in 30-second intervals until melted and smooth.
Pour the melted chocolate mixture over the pressed Rice Krispie treats and spread it out evenly.
Allow the treats to cool at room temperature for about 15 minutes, then refrigerate for at least 30 minutes until the chocolate is set.
Once set, cut the treats into squares or rectangles and serve.
Nutrition Facts
Recipe Reviews
- ★★★★★
Excellent recipe!
Leave a Reply
Your email address will not be published. Required fields are marked *




Excellent recipe!