Table of Contents
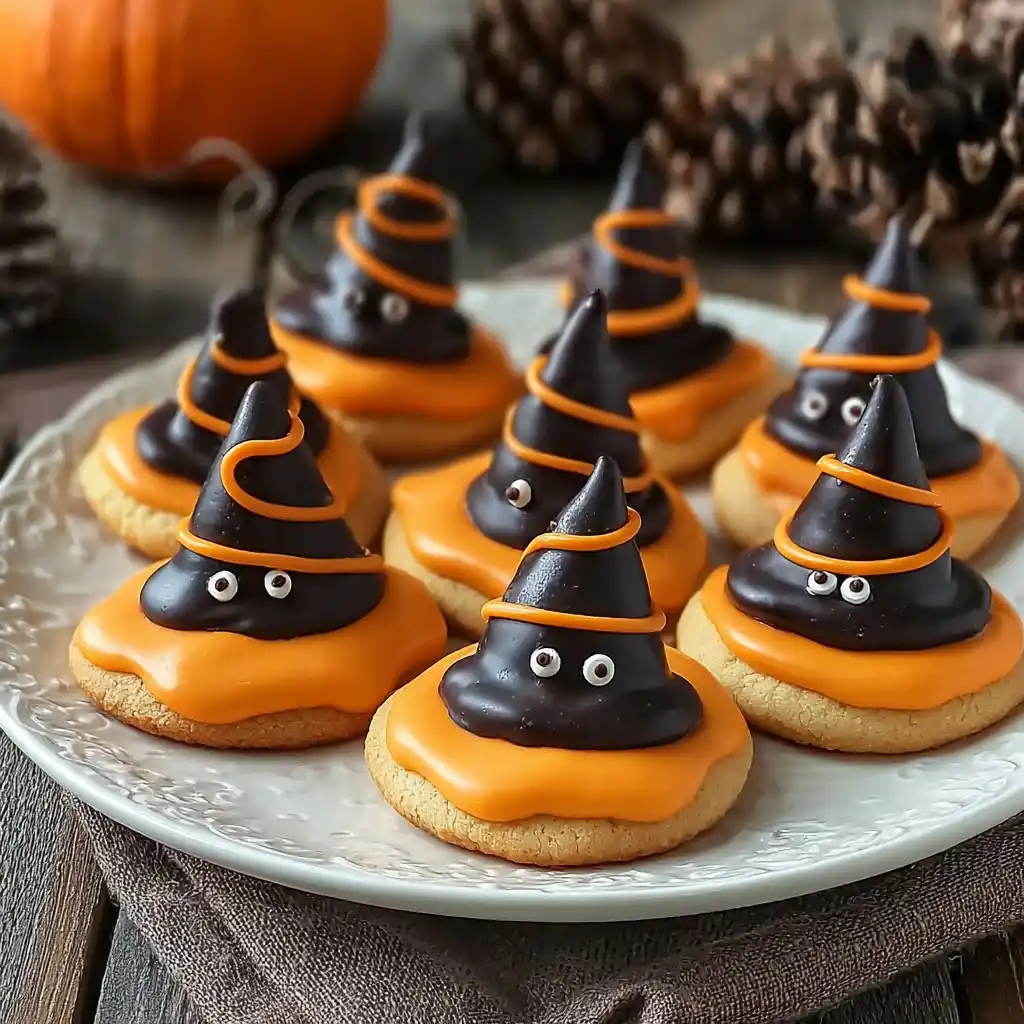
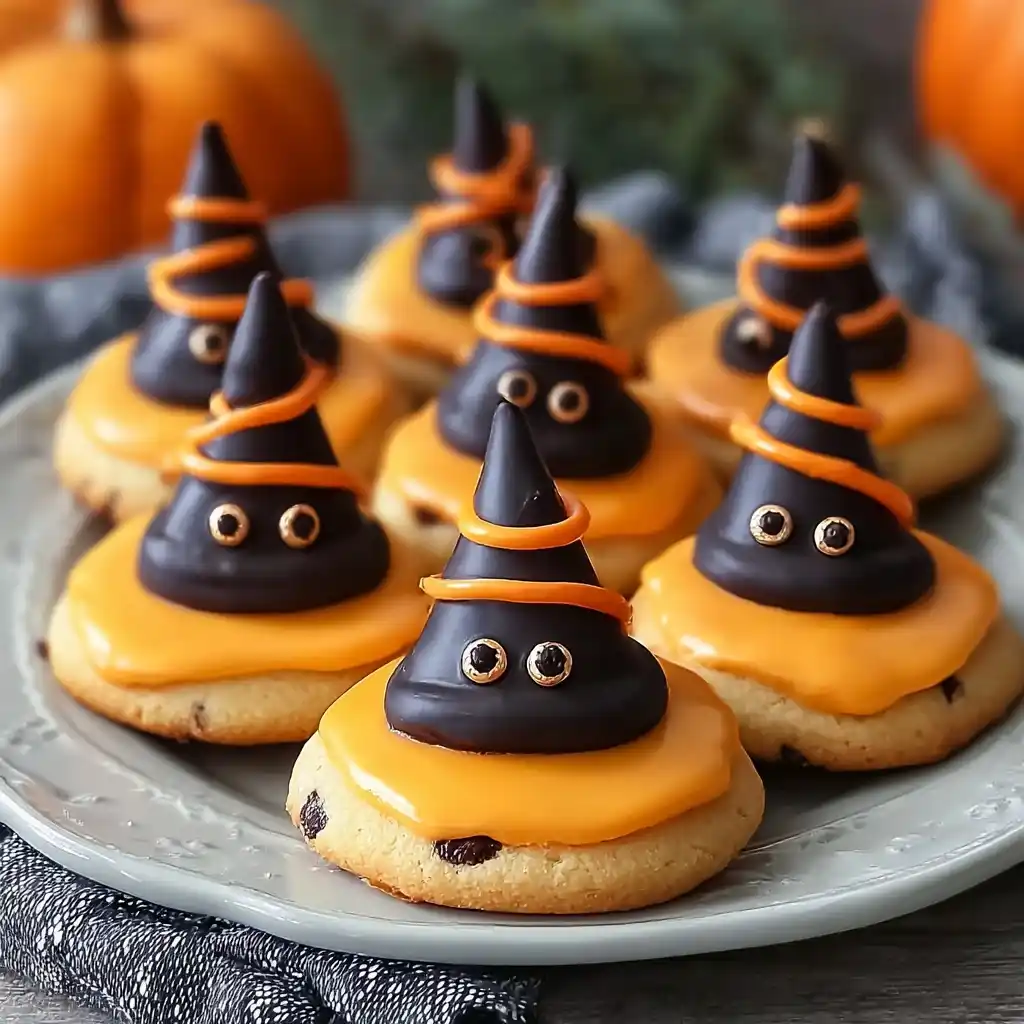
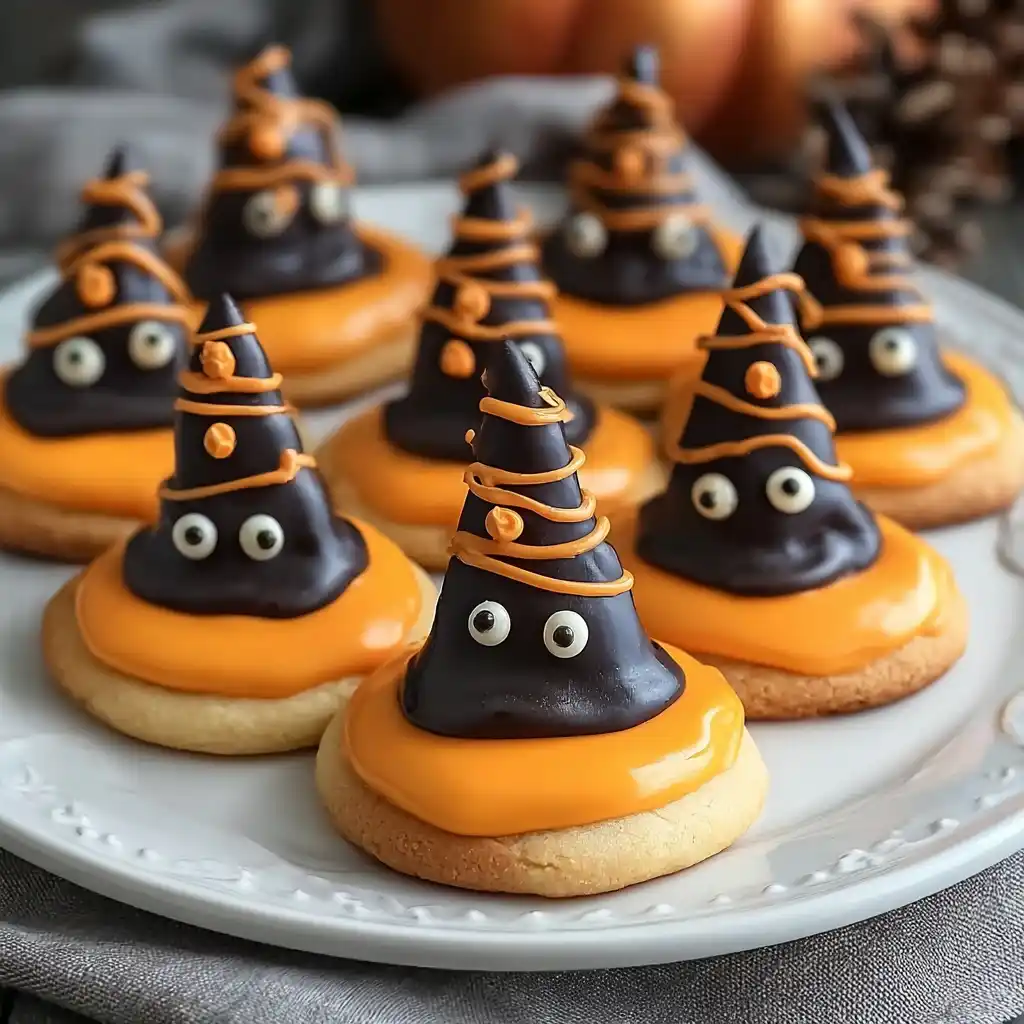
Witch Hat Cookies
Welcome to the ultimate guide to creating witch hat cookies, the perfect treat for Halloween parties and spooky gatherings. In this easy witch hat cookies guide, we’ll walk you through a DIY recipe that will wow your guests and elevate your Halloween celebrations. Get ready to dive into the best witch hat cookie recipe that offers not just deliciousness but also fun and creativity with witch hat cookies decorating ideas.
When it comes to Halloween fun with witch hat cookies, there’s no better way to delight both kids and adults alike. These witch hat cookies are not just a tasty treat but also a fantastic activity for the whole family to enjoy together. So, let’s roll up our sleeves, put on our imaginary witch hats, and embark on a magical journey of creating these delightful cookies.

Whether you’re looking to make witch hat cookies at home for the first time or you’re a seasoned baker seeking new inspiration, this article is your go-to resource for everything you need to know about witch hat cookies. From high CPC keywords to low competition witch hat cookies recipes, we’ve got you covered with all the essential information to make your witch hat cookie preparation a breeze.
Before we jump into the step-by-step instructions and baking tips for hat cookies, let’s gather our ingredients and set the stage for a spook-tacular baking adventure. Get ready to bring a touch of magic to your Halloween celebrations with these witch hat themed Halloween treats!
Ingredients List
For this witch hat cookie recipe, you will need the following ingredients:
1. All-purpose flour
2. Unsweetened cocoa powder
3. Baking powder
4. Salt
5. Unsalted butter
6. Granulated sugar
7. Egg
8. Vanilla extract
9. Hershey’s Kisses (for the witch hat toppers)
10. Orange candy melts (for decorating)
Step-by-Step Instructions
1. In a bowl, whisk together the flour, cocoa powder, baking powder, and salt.
2. In a separate bowl, cream together the butter and sugar until light and fluffy.
3. Add the egg and vanilla extract to the butter mixture and beat until well combined.
4. Gradually add the dry ingredients to the wet ingredients, mixing until a dough forms.
5. Shape the dough into small balls and place them on a baking sheet.
6. Bake the cookies in a preheated oven until set.
7. Allow the cookies to cool slightly before pressing a Hershey’s Kiss into the center of each cookie.
8. Melt the orange candy melts and use them to create the base of the witch hats on the cookies.
9. Let the cookies set before serving and enjoying the spooky deliciousness!
Pro Tips
1. Chill the dough before shaping it to make it easier to work with.
2. Use a small ice cream scoop to portion out the dough for uniform cookies.
3. Experiment with different colors of candy melts for a variety of witch hat designs.
4. Get creative with decorations like sprinkles or edible glitter for added flair.
5. Store the cookies in an airtight container to keep them fresh for longer.
6. Have fun and let your imagination run wild when decorating your witch hat cookies!
Customization Ideas for Witch Hat Cookies
Looking to switch things up with your witch hat cookies? Here are some fun variations to try:
1. Spicy Witch Hat Cookies: Add a pinch of cayenne pepper to the cookie dough for a subtle kick.
2. Vegetarian Witch Hat Cookies: Use plant-based butter and egg alternatives for a vegan-friendly version.
3. Protein-Packed Witch Hat Cookies: Incorporate chopped nuts or seeds into the cookie dough for added crunch.
4. Gluten-Free Witch Hat Cookies: Substitute gluten-free flour for a celiac-friendly option.
Nutritional Information (approximate)
Serving Size: 1 Witch Hat Cookie
Calories per serving: 120
Total Fat: 6g
Cholesterol: 15mg
Sodium: 50mg
Total Carbohydrates: 15g
Protein: 2g
Storage & Meal Prep Tips
To store your witch hat cookies, place them in a single layer in an airtight container at room temperature. They will keep well for up to a week. For longer storage, you can freeze the cookies for up to 2 months. Simply thaw them at room temperature before serving.
Common Mistakes to Avoid When Making
1. Overbaking the cookies, which can result in a dry and crumbly texture.
2. Skipping the chilling step for the dough, leading to cookies that spread too much while baking.
3. Using warm candy melts, which can cause the decorations to slide off the cookies.
4. Pressing the Hershey’s Kisses too hard into the cookies, causing them to crack.
5. Not allowing the cookies to cool completely before decorating, resulting in melted candy melts.
FAQ Section
1. Can I use different flavors of candy melts for the witch hat cookies?
2. How far in advance can I make witch hat cookies for a party?
3. Can I use a different type of chocolate for the witch hat toppers?
4. Do I need to refrigerate the cookies after decorating them?
5. How can I prevent the Hershey’s Kisses from melting when baking the cookies?
Pairing Ideas for Witch Hat Cookies
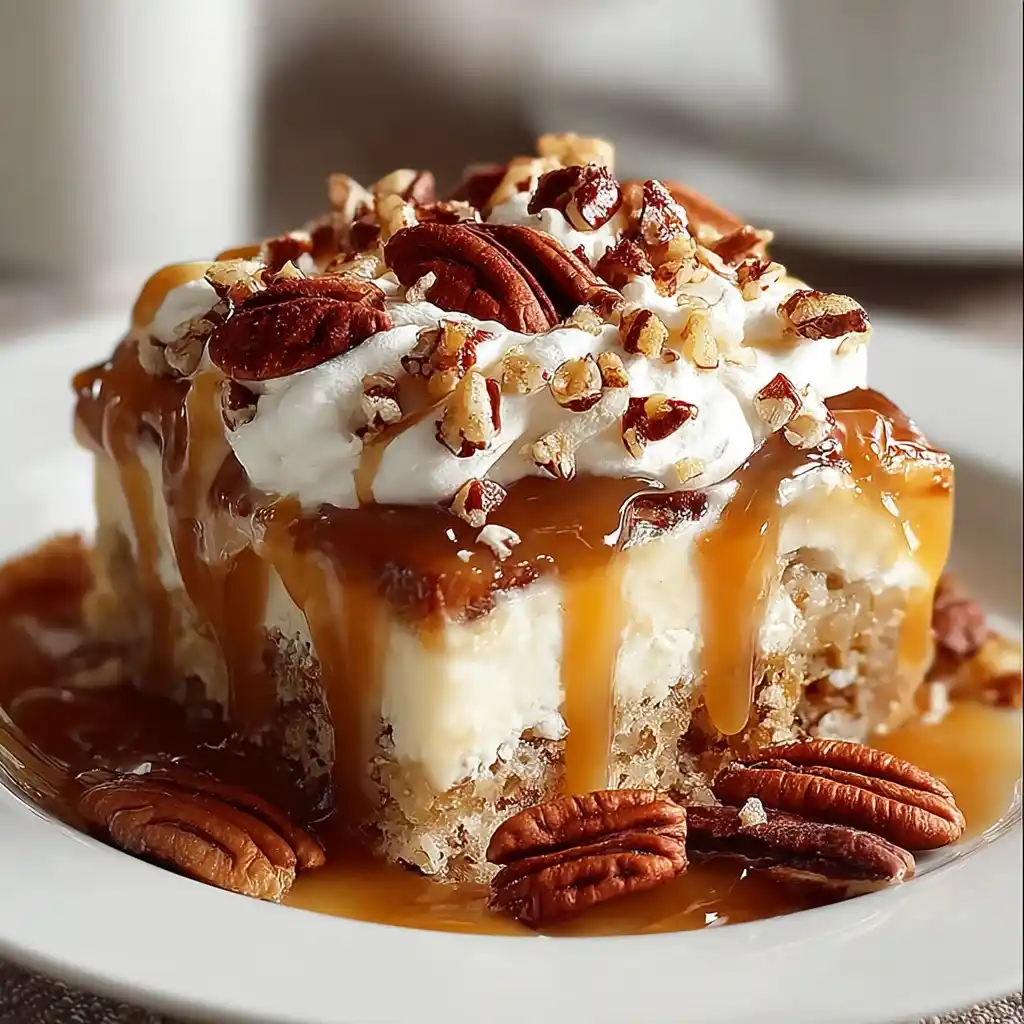
For a complete Halloween spread, consider serving your witch hat cookies alongside other themed treats like mummy brownies, ghost cupcakes, or pumpkin-shaped sugar cookies. Pair them with a glass of apple cider or hot cocoa for a festive touch.
Conclusion
Get ready to elevate your Halloween celebrations with these delightful witch hat cookies. Whether you’re a baking novice or a seasoned pro, this easy recipe will guide you through creating spooky and delicious treats that are sure to impress. So, gather your ingredients, put on your apron, and let the magic of Halloween come to life with these witch hat cookies!
Witch Hat Cookies: An Amazing Ultimate Recipe for Halloween Fun
Delight both kids and adults with these fun and creative witch hat cookies, perfect for Halloween parties and spooky gatherings. These cookies are not only delicious but also a fantastic activity for the whole family.
Ingredients
-
1 cup all-purpose flour
-
1/4 cup unsweetened cocoa powder
-
1/2 teaspoon baking powder
-
1/4 teaspoon salt
-
1/2 cup unsalted butter
-
1/2 cup granulated sugar
-
1 egg
-
1 teaspoon vanilla extract
-
12 Hershey's Kisses
-
1/2 cup orange candy melts
Directions
-
In a bowl, whisk together the flour, cocoa powder, baking powder, and salt.
-
In a separate bowl, cream together the butter and sugar until light and fluffy.
-
Add the egg and vanilla extract to the butter mixture and beat until well combined.
-
Gradually add the dry ingredients to the wet ingredients, mixing until a dough forms.
-
Shape the dough into small balls and place them on a baking sheet.
-
Bake the cookies in a preheated oven until set.
-
Allow the cookies to cool slightly before pressing a Hershey's Kiss into the center of each cookie.
-
Melt the orange candy melts and use them to create the base of the witch hats on the cookies.
-
Let the cookies set before serving and enjoying the spooky deliciousness!