Table of Contents
Introduction
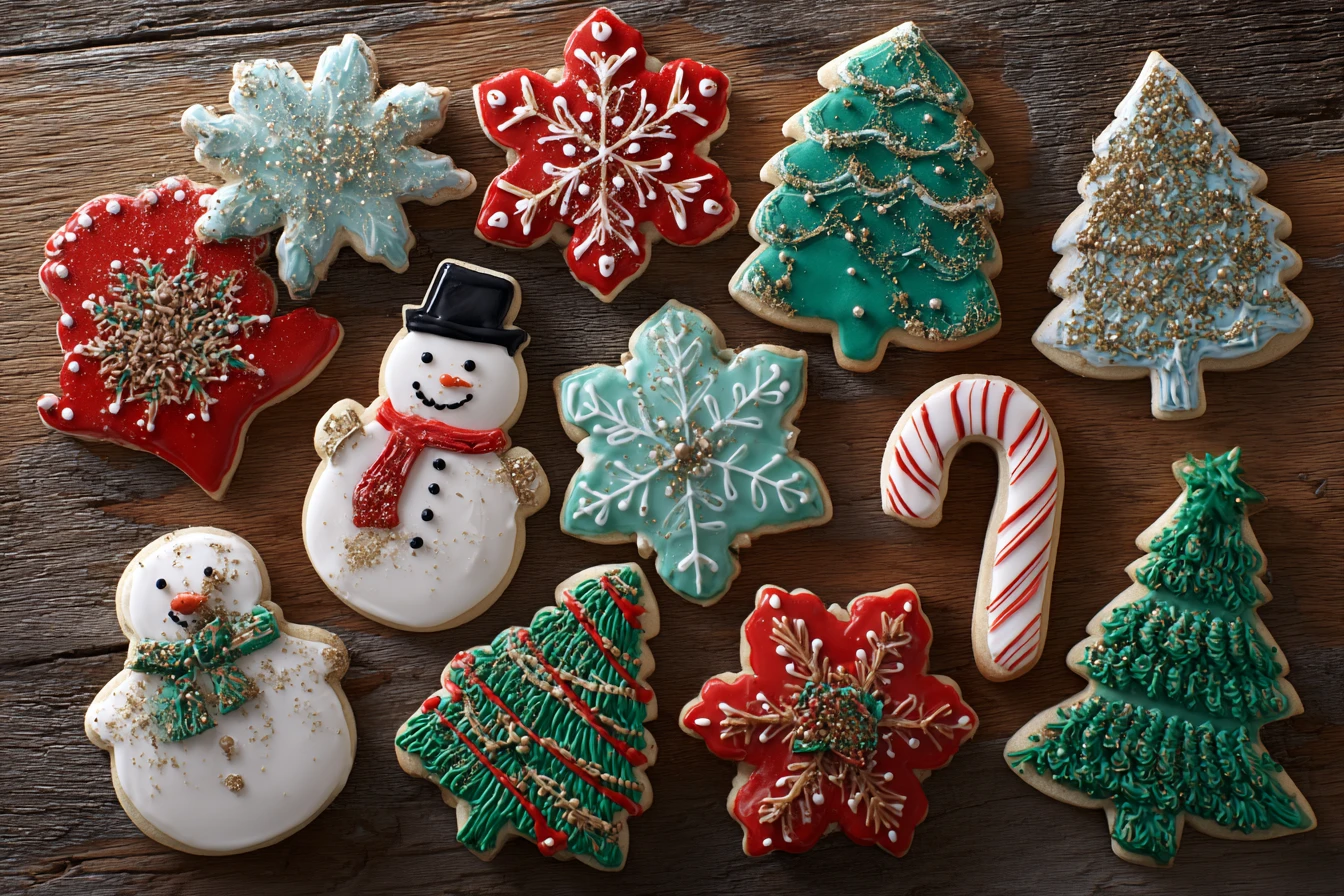
It’s officially cookie season — and there’s nothing quite like a kitchen filled with the smell of freshly baked sugar cookies, a dusting of powdered sugar on the counter, and bowls of colorful icing waiting to be swirled and dotted.
Decorating Christmas cookies isn’t just baking — it’s tradition. It’s laughter around the kitchen table, sticky fingers, and memories that last far longer than the cookies themselves. Whether you’re hosting a holiday cookie party, baking for Santa, or spending a cozy afternoon decorating with your kids, this guide will teach you exactly how to decorate Christmas cookies — with step-by-step instructions, easy icing recipes, and tons of creative inspiration.
These cookies are as beautiful as they are delicious — crisp-edged, buttery sugar cookies topped with smooth, glossy icing that hardens to perfection. And don’t worry — you don’t need fancy tools or pastry chef skills. Just a few simple ingredients, a little creativity, and a dash of holiday cheer.
Let’s get started — your dream Christmas cookie decorating session starts right here!
Why You’ll Love This Christmas Cookie Decorating Guide
- 🎨 Beginner-friendly: No piping experience needed — I’ll walk you through it all!
- 🍪 Perfect sugar cookies: They hold their shape and don’t spread.
- ✨ Smooth, shiny icing: Dries beautifully for decorating and gifting.
- 🎅 Customizable: Endless colors, flavors, and shapes to fit your holiday theme.
- 🧒 Fun for all ages: Ideal for kids, family nights, or festive parties.
- 🎁 Make-ahead friendly: Both the cookies and icing can be prepped in advance.
If you’ve ever admired those perfectly frosted holiday cookies on Pinterest — this is your step-by-step guide to making them at home!
What You’ll Need
Before we dive into decorating, you’ll need the perfect base: buttery, tender cut-out sugar cookies that hold their shape.
Sugar Cookie Ingredients
- 2 ½ cups all-purpose flour – Spoon and level for accuracy.
- ¾ tsp baking powder – For a light but firm texture.
- ¼ tsp salt – Balances the sweetness.
- ¾ cup unsalted butter, softened – The key to rich, buttery flavor.
- ¾ cup granulated sugar – Sweet but not too sweet.
- 1 large egg – Adds structure.
- 2 tsp pure vanilla extract – For warmth and aroma.
- (Optional: ½ tsp almond extract) – Adds that classic holiday bakery flavor.
Royal Icing Ingredients
- 3 cups powdered sugar, sifted
- 2 tbsp meringue powder (or 1 pasteurized egg white)
- 5–6 tbsp warm water, as needed
- 1 tsp vanilla extract or almond extract
- Gel food coloring, in your favorite holiday shades
💡 Pro Tip: Gel coloring is best because it gives rich color without thinning the icing.
Optional Decorating Supplies
- Piping bags (or zip-top sandwich bags)
- Small round piping tips (like Wilton #2 or #3)
- Toothpicks for detailing
- Sprinkles, edible glitter, crushed candy canes, mini chocolate chips
- Cooling racks, spatulas, and mixing bowls
How to Make Perfect Sugar Cookies
These cookies are the sturdy yet tender base you need for decorating.
Step 1: Whisk the Dry Ingredients
In a medium bowl, whisk together flour, baking powder, and salt. Set aside.
📝 Pro Tip: Spoon flour into the measuring cup and level it — too much flour makes tough cookies.
Step 2: Cream the Butter and Sugar
In a large mixing bowl, beat butter and sugar together for about 2–3 minutes until light and fluffy.
Add egg, vanilla, and almond extract (if using) and mix until combined.
Step 3: Combine Wet and Dry
Add the dry ingredients to the butter mixture and mix on low until just combined.
If the dough feels sticky, chill it for 15–20 minutes.
Step 4: Roll and Cut
Roll the dough out on a lightly floured surface to about ¼-inch thickness.
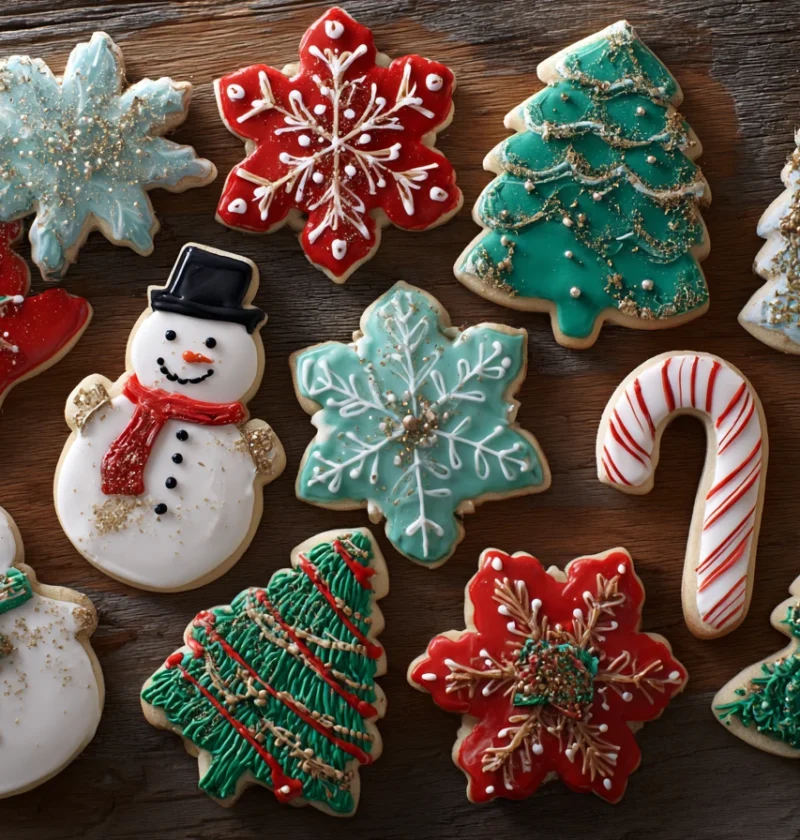
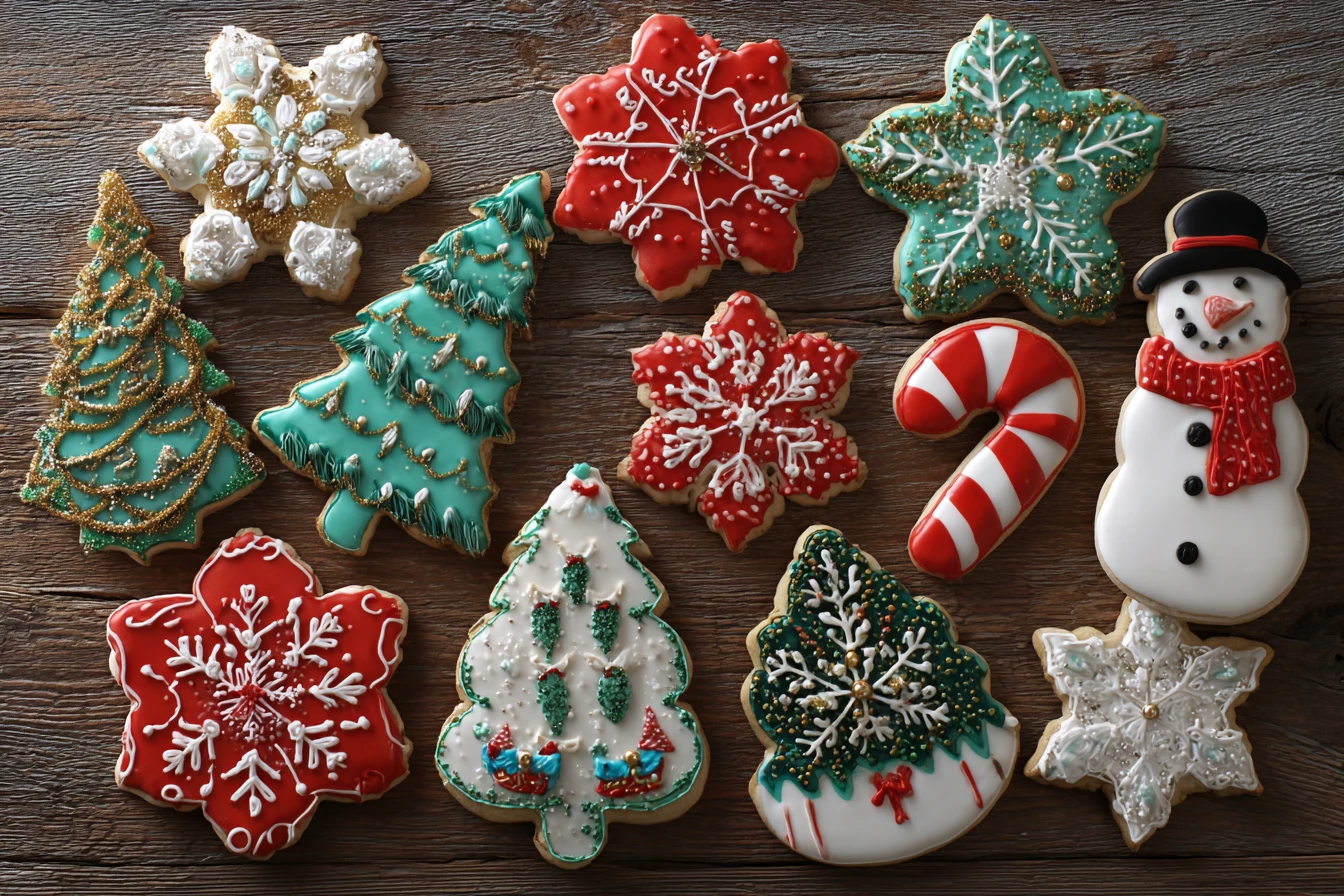
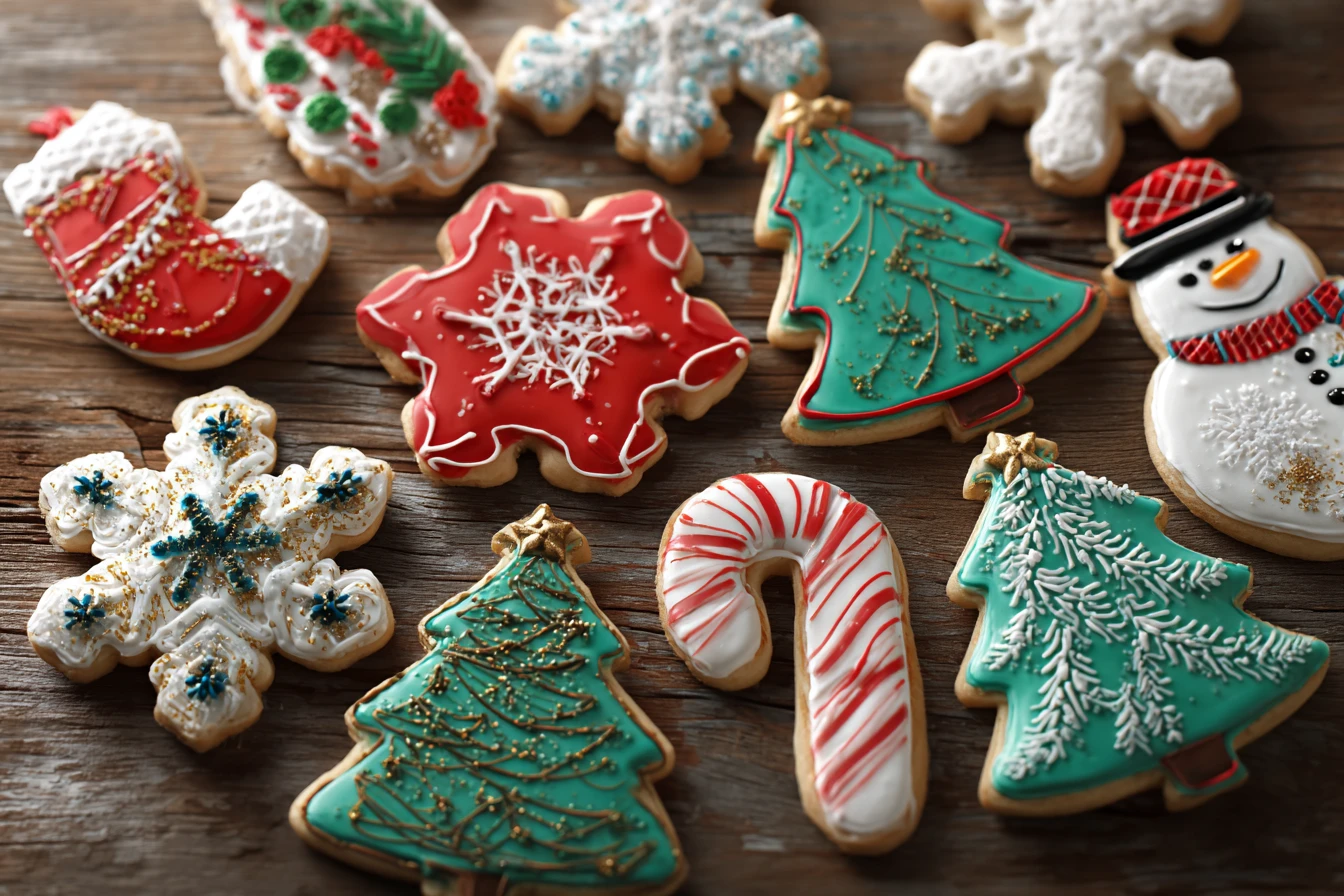
Cut into festive shapes — trees, stars, snowflakes, gingerbread men, candy canes, you name it!
🍪 Tip: Dip cutters in flour between uses to keep shapes clean.
Step 5: Bake
Place cookies on a parchment-lined baking sheet. Bake at 350°F (175°C) for 8–10 minutes, or until edges are just barely golden.
Cool completely before decorating — royal icing won’t stick to warm cookies!
How to Make Royal Icing (For Decorating)
Royal icing is the secret to those shiny, smooth cookies that look straight out of a bakery. It dries firm but not rock-hard and can be piped or flooded depending on the texture you want.
Step 1: Combine Ingredients
In a large bowl, whisk together powdered sugar, meringue powder, vanilla extract, and water (start with 5 tablespoons).
Step 2: Beat Until Glossy
Beat with a hand mixer on medium speed for 2–3 minutes, until glossy peaks form.
Add more water 1 teaspoon at a time if too thick, or more sugar if too thin.
🎨 Tip: For outlining, icing should be thick (like toothpaste). For flooding, it should be thinner and flow easily.
Step 3: Divide and Tint
Divide the icing into bowls and tint each with gel food coloring. Classic combos: red, green, white, gold, blue, silver.
Cover icing with plastic wrap (touching the surface) to prevent drying out.
How to Decorate Christmas Cookies: Step-by-Step
Now for the fun part! Whether you’re a beginner or a cookie artist in the making, here’s how to create picture-perfect designs.
Step 1: Outline the Cookies
Using a small piping tip (or a snipped plastic bag), pipe a thin line of thicker icing around the edge of each cookie.
This creates a “wall” to hold in your flooding icing later.
💡 Pro Tip: If you’re new, start with simple shapes like stars and ornaments — easier to trace!
Step 2: Flood the Inside
Thin your icing slightly with ½ teaspoon of water at a time.
Pipe or spoon it inside the outlined cookie and use a toothpick to gently spread and pop air bubbles.
Let sit for 1 hour or until the surface is smooth and set.
Step 3: Add Details
Once the base icing is dry, pipe on smaller designs using thicker icing.
Try snowflakes, stripes, dots, or swirls.
Decorating Ideas:
- Red and white swirls for candy canes
- Green trees with sprinkle “ornaments”
- Blue snowflakes with silver pearls
- Santa faces with white beard puffs
Step 4: Add Sprinkles & Glitter
While icing is still wet, add sprinkles, sanding sugar, or edible glitter for a touch of sparkle.
Step 5: Dry Completely
Let cookies dry at room temperature for at least 4–6 hours, or overnight if possible.
Once dry, icing will be firm and glossy — perfect for stacking, packaging, or gifting!
Tips for Decorating Success
- Start simple: Begin with basic designs before trying intricate ones.
- Keep icing covered: It dries quickly, so cover bowls with plastic wrap.
- Practice first: Try a few test cookies to get a feel for piping.
- Don’t rush drying: Humidity affects icing — give it time.
- Store correctly: Once dry, store in a single layer to prevent smudging.
- Use toothpicks for detail: Perfect for fixing small lines or bubbles.
- Plan your colors: Too many can muddy the design — 3–4 hues is ideal.
Variations & Decorating Themes
- Classic Christmas: Red, green, white — candy canes, stars, trees.
- Winter Wonderland: Silver, blue, and white snowflakes.
- Rustic Farmhouse: Tan, cream, and plaid with burlap ribbons.
- Glam Holiday: Metallic gold icing with pearl sprinkles.
- Kids’ Edition: Use edible markers or mini candies for faces and buttons.
🎨 Fun twist: Add flavor extracts (peppermint, almond, orange) to your icing for different flavor profiles.
What to Serve or Pair With Christmas Cookies
- Hot Cocoa Bar: Serve cookies with whipped cream–topped cocoa.
- Espresso or Latte: Balances the sweetness perfectly.
- Holiday Dessert Board: Pair cookies with fudge, truffles, and peppermint bark.
Perfect for parties, Christmas Eve, or cookie exchange events.
Storage & Make-Ahead Tips
- At Room Temperature: Store in airtight containers for up to 1 week.
- Refrigerate Dough: Up to 3 days before rolling and baking.
- Freeze Baked Cookies (Undecorated): Up to 3 months — thaw before icing.
- Freeze Decorated Cookies: Freeze in layers with parchment between them.
🍪 Tip: Always let icing dry fully before stacking or freezing to avoid smudges.
Nutrition Facts (Per Cookie)
| Nutrient | Amount |
|---|---|
| Calories | 145 kcal |
| Protein | 2 g |
| Carbohydrates | 21 g |
| Fat | 6 g |
| Fiber | 0.5 g |
| Sugar | 12 g |
| Sodium | 45 mg |
(Approximate values; depends on size and icing amount.)
Common Mistakes to Avoid
- ❌ Using warm cookies — icing melts and won’t set.
- ❌ Icing too thin — it will run off the edges.
- ❌ Stacking too early — icing needs to dry overnight.
- ❌ Overmixing the dough — makes cookies tough.
- ❌ Forgetting to chill dough — causes spreading and misshaped cookies.
FAQ
Q1: What’s the best icing for decorating Christmas cookies?
Royal icing gives the smoothest finish, but you can also use a simple powdered sugar glaze if you prefer a softer texture.
Q2: Can I decorate store-bought cookies?
Absolutely! Use plain sugar cookies or shortbread cookies as your canvas.
Q3: How do I fix icing that’s too runny?
Add more powdered sugar, 1 tablespoon at a time, until thicker.
Q4: Can kids help decorate?
Definitely! Use squeezable bottles or plastic baggies for easy, mess-free decorating.
Q5: Can I make these ahead for gifting?
Yes! Baked and decorated cookies keep beautifully for up to a week in airtight tins.
Q6: Can I flavor my icing?
Yes — peppermint, almond, lemon, or orange extracts are all festive options.
Q7: How do I get shiny icing?
Add a few drops of corn syrup to your royal icing for that glossy bakery sheen.
Conclusion
Decorating Christmas cookies is about more than just making something beautiful — it’s about creating memories, laughter, and a kitchen filled with holiday joy.
These decorated Christmas cookies are the perfect blend of festive charm and buttery sweetness. Whether you go for classic red and green designs, elegant snowflakes, or playful gingerbread faces, they’ll bring smiles to everyone who sees (and eats) them.
So grab your sprinkles, mix your colors, and make your kitchen sparkle with the magic of homemade holiday cookies.
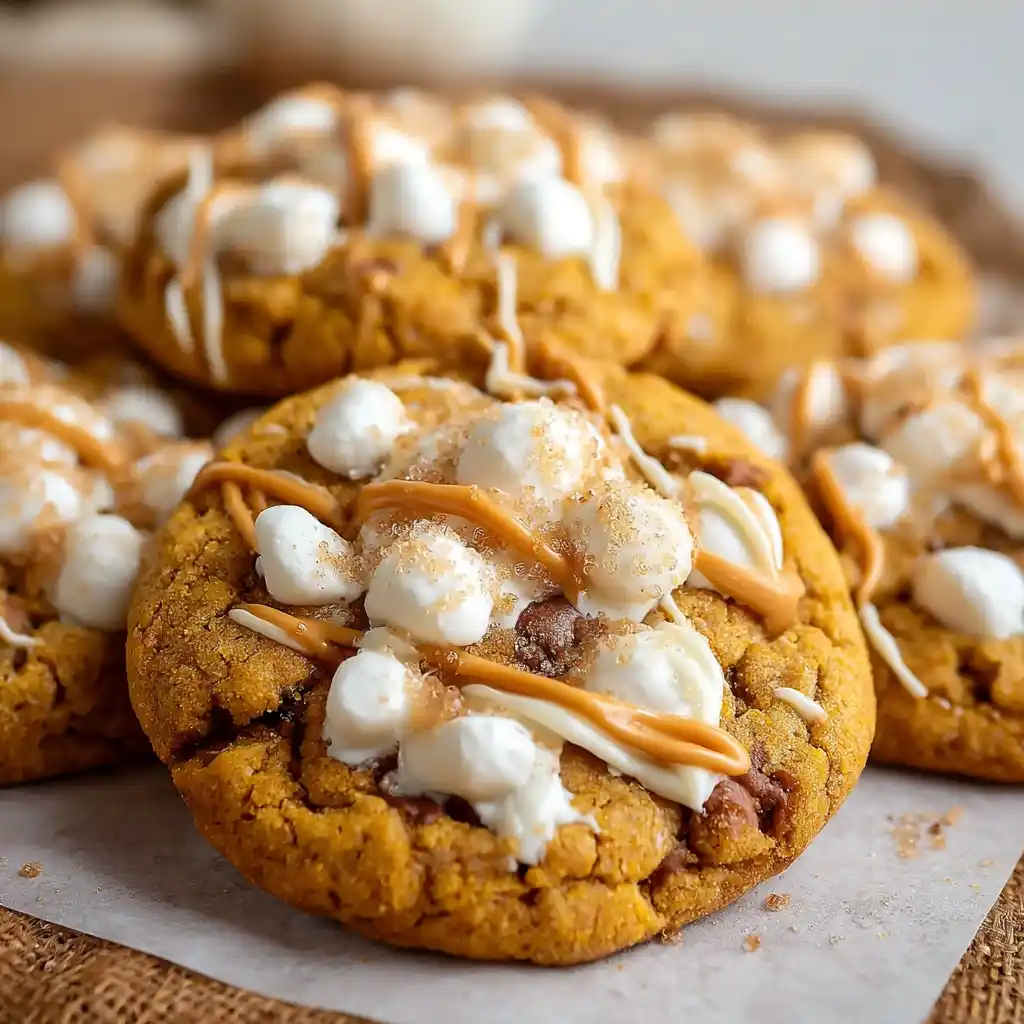
And if you loved this guide, try my Pumpkin Oreo Cookies or Pumpkin Brownies next — both are cozy, crowd-pleasing, and perfect for year-round baking!
How to Decorate christams cookies
Learn how to decorate Christmas cookies with this step-by-step guide. Explore easy Christmas cookie decorating ideas, techniques, and tips to create beautiful and festive treats.
Ingredients
- Assorted cookies (baked and cooled)
- Royal icing in various colors
- Edible decorations (sanding sugar, sprinkles, edible glitter)
- Fondant (optional)
Directions
-
Gather all your supplies including baked cookies, prepared icing, and decorations.
-
Choose simple designs like snowflakes, candy canes, or Christmas trees for beginners.
-
Outline your design with icing using a piping bag or squeeze bottle and fill it in.
-
Allow the base icing to set before adding details or additional decorations.
-
Experiment with textures like sanding sugar, sprinkles, or edible glitter for added visual appeal.
-
Embrace imperfections and appreciate the unique charm of handmade cookies.
-
Share your decorated Christmas cookies with friends and family to spread holiday joy.