
Table of Contents
Homemade Sourdough Bread: Easy, Crusty & Perfect Every Time!
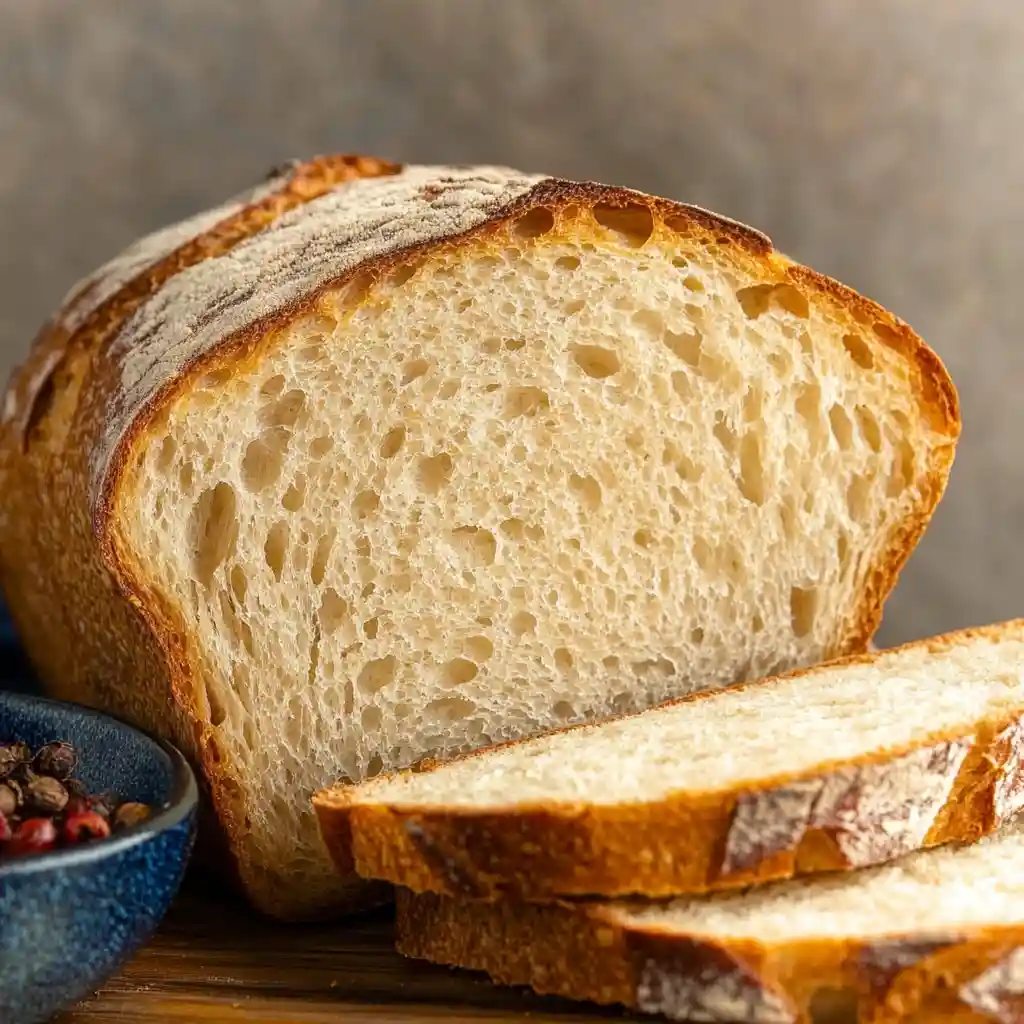
Welcome to the ultimate guide on creating your own Homemade Sourdough Bread right in your kitchen. There’s something truly magical about the process of making sourdough bread from scratch. The aroma that fills your home as it bakes, the crusty exterior, and the soft, tangy crumb make each loaf a work of art.
Whether you’re a seasoned bread maker or a beginner looking to embark on a new culinary adventure, this recipe will guide you through the steps to achieve a perfect loaf of Homemade Sourdough Bread every time.
So, roll up your sleeves, dust off your apron, and let’s dive into the wonderful world of sourdough bread baking!
Why You’ll Love Homemade Sourdough Bread
There are countless reasons to fall in love with Homemade Sourdough Bread. Here are just a few:
– The satisfaction of creating a delicious loaf from simple ingredients.
– The unique tangy flavor that only sourdough can provide.
– The beautiful crust that forms during baking, creating a delightful crunch.
– The versatility of sourdough bread, perfect for sandwiches, toast, or enjoying on its own.
Ingredients
To create your own Homemade Sourdough Bread, you’ll need the following ingredients:
– 500g bread flour
– 350g water
– 100g active sourdough starter
– 10g salt
That’s it! Just four simple ingredients to start your sourdough bread-making journey.

Step-by-Step Instructions
1. In a large mixing bowl, combine the bread flour and water. Mix until a shaggy dough forms. Cover and let it rest for 30 minutes.
2. Add the sourdough starter and salt to the dough. Knead the dough until smooth and elastic.
3. Cover the bowl and let the dough ferment at room temperature for 4-6 hours, folding the dough every hour.
4. Shape the dough into a round loaf and place it in a floured proofing basket. Let it rise overnight in the refrigerator.
5. Preheat your oven and a Dutch oven at 450°F. Score the top of the dough and bake it covered for 20 minutes, then uncovered for an additional 20 minutes.
Serving Suggestions
Once your Homemade Sourdough Bread is beautifully baked and cooled, the options for enjoying it are endless. Spread on some creamy butter, make a classic avocado toast, or use it as the base for a gourmet sandwich.
Pair your sourdough bread with a hearty soup or use it to soak up the flavors of a delicious stew. The tangy flavor and chewy texture of sourdough complement a wide variety of dishes.
Recipe Variations and Substitutions
Feel free to get creative with your Homemade Sourdough Bread. Add seeds, nuts, or dried fruits to the dough for extra flavor and texture. Experiment with different flours like whole wheat or rye to create unique variations.
If you don’t have a sourdough starter, you can make a faux sourdough by using a combination of yeast and yogurt for a similar tangy flavor.
Pro Tips for Success
– Maintain a consistent feeding schedule for your sourdough starter to keep it healthy and active.
– Use a kitchen scale to accurately measure your ingredients for the best results.
– Don’t rush the fermentation process—allowing the dough to rise slowly develops flavor.
– Invest in a good quality Dutch oven for baking to achieve that perfect crust.
FAQ
Q: How do I know when my sourdough bread is fully proofed?
A: A properly proofed loaf will hold an indentation when gently pressed with a finger and show some air bubbles on the surface.
Q: Can I freeze sourdough bread?
A: Yes, sourdough bread freezes well. Wrap it tightly in plastic wrap and store it in an airtight container.
Q: Why is my sourdough bread dense?
A: Dense bread can be a result of overproofing or under-kneading the dough. Pay attention to fermentation times and the development of gluten.
Q: Can I bake sourdough bread without a Dutch oven?
A: While a Dutch oven helps create steam for a crispy crust, you can bake sourdough bread on a baking stone or a preheated cast-iron skillet.
Q: How long does it take to make sourdough bread from start to finish?
A: The process of making sourdough bread can take anywhere from 12 to 48 hours, depending on fermentation times and proofing schedules.
Conclusion
Congratulations on mastering the art of Homemade Sourdough Bread! With each loaf you bake, you’ll hone your skills and develop a deep appreciation for the craft of bread making. Enjoy the process, experiment with flavors, and share your delicious creations with friends and family. Homemade Sourdough Bread is not just a recipe; it’s a journey of discovery and joy.